If you want to customize the look of your character, then you need to learn how to download Minecraft skins on your PC. Downloading a skin is a fairly easy process, yet there are still some aspects we would like to cover. If you are not sure what website to turn to, then we are here to help with that as well! Some of the best skins are those that you can find here!
Oh, and if you are looking for some tips on how to download a skin on Minecraft for your Mac computer, then we are happy to tell you that the process is pretty much the same! Shall we get started with that then?
There are several methods with the help of which you can download a skin on to your PC. The best one is to download it directly on to your desktop and this step-by-step is solely dedicated to it.
Step 1.Open the skins website
30 Epic Minecraft Wallpapers
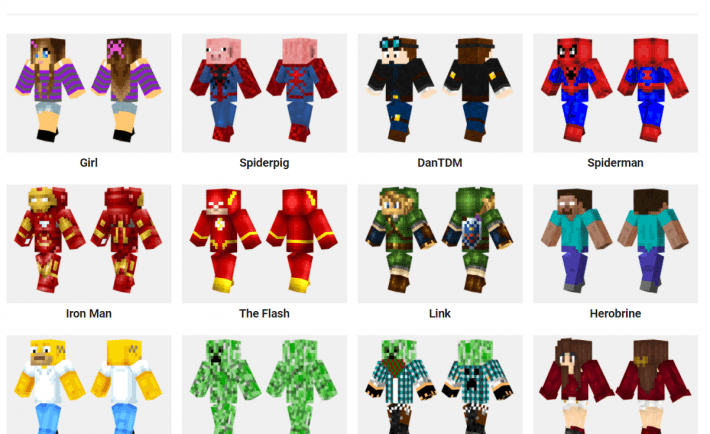
We recommend you going to skins4minecraft.com, as it has some of the best skins out there! Scroll through all the variants they have until your eyes hurt and pick the ones you think you would suit best.
Step 2. Select a skin
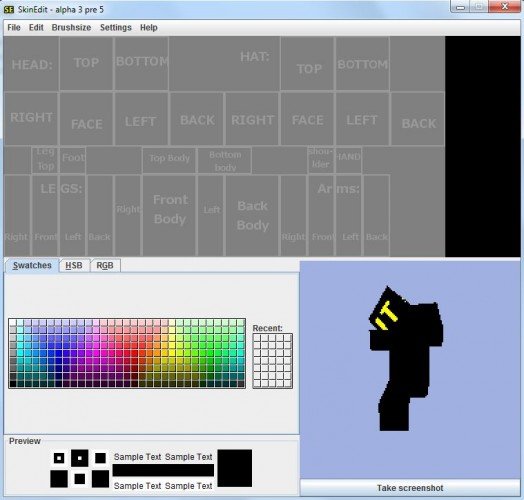
How to edit your skin in Minecraft
Click on a skin that you would want your character to be wearing!
You can either search for a specific skin if you have something special in mind or you can explore the popular ones! You can also see if the website has the ‘Latest added’ or ‘Top skins’ which will help you narrow down your selection.
Step 3. Click the Download button
What Minecraft Teaches Us About Cross-Platform Support
It’s a big green one that is on the right side of the skin’s page. The skin file will be then prompted to download to your Windows. Please bear in mind that depending on the settings of your browser, you may first have to select a location for your skin to take. Don’t forget where you download the PNG file! Then you should confirm the download.
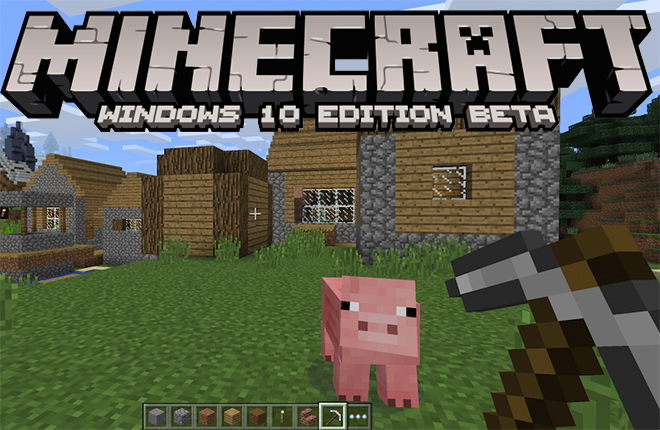
Step 4. Open Minecraft’s website
The ultimate Mac user’s guide to Minecraft on OS X – mods, skins, and more
Go to https://minecraft.net/, which is the Minecraft website. This is the stage where you install your skin.
Step 5. Click ☰
60+ Epic Minecraft Art
It is situated in the top-right corner of the website page. Clicking the button will make a drop-down menu appear.
Step 6. Click Profile
This button is situated at the top of the drop-down menu. Doing so will take you to the skin page.
If you haven’t logged into Minecraft yet, proceed to enter your e-mail address and password and then click ‘LOG IN’ before continuing.
Step 7. Click Select a file
How to Change Minecraft Skins
That would be a white button which is situated near the bottom of the screen.
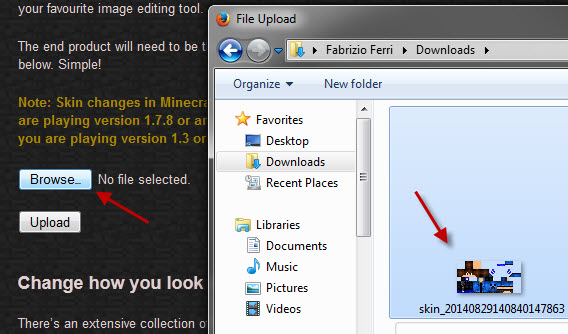
Step 8. Select your skin file
200+ Best Minecraft Creations
Find and then click on the skin file that you have previously downloaded. If your browser didn’t suggest you to pick a saving destination, then your skin is very likely to have been placed in your computer’s default “Downloads” folder.
Step 9. Click Open

50 Most Realistic Minecraft Creations
That button would be situated in the bottom-right corner of the window. Your skin file will then be uploaded to your profile page.
Step 10. Click Upload
That is a white button which is situated near the bottom of the website page. Clicking it will change the skin for the account you are currently using.
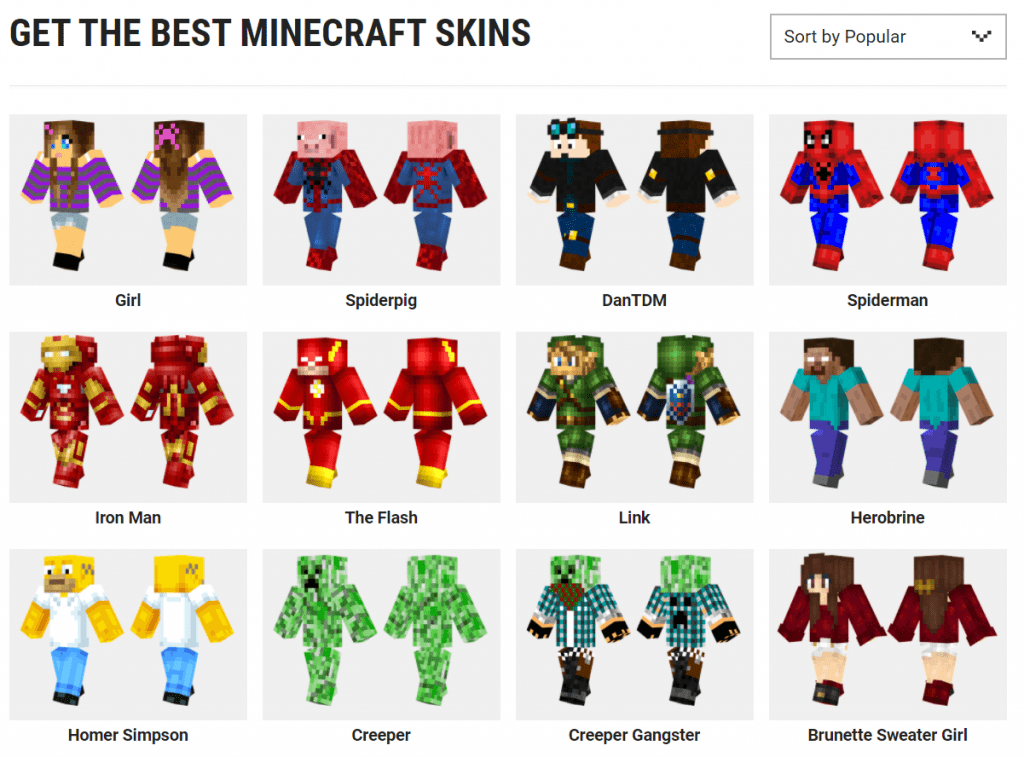
GET THE BEST MINECRAFT SKINS
Now, when you log into Minecraft on your computer (please note that you have to use the same account credentials), your character will then have the new skin you uploaded. What a change!
Frequently Asked Questions
1. How can you change the Minecraft Skins on a computer and the Pocket Edition (PE)?
Using a Minecraft skin editor, you can change the Minecraft skins on your PE and computer. You can check the instructions on how to change Minecraft skin here.
2. How can you download skins onto the computer?
You can easily download Minecraft skins on a computer by clicking on the “Download” button, which is located on the page’s right side. Don’t forget to save it into your computer directory.
3. How do you keep track of Minecraft skins you like?
Use the Wardrobe function as it helps you keep track of Minecraft skins. Also, you can still add skins to it. When using the wardrobe feature, you can always change into another skin or choose the previous.
4. What to do when you didn’t receive the activation link from the Minecraft skin provider?
Most often than not, a Minecraft skin provider will provide you an activation link for your desired skin. When you can’t find the link, fill out the contact form with your username or email to reach customer support.
5. Can you change your username?
Yes, you can change your username. However, you’re only allowed to change your username every six months.
6. Can you recover your deleted account?
Most often than not, deleted accounts cannot be recovered as they’ve been permanently deleted. It means that you have to sign up for a new account.
7. How do you report a copied Minecraft skin?
You can flag a copied Minecraft skin. It’s usually found on the skin page where you can find a way to report or select “copied skin.” Then, paste the original skin’s link and submit the report. The investigating team will check the report within 72-hours and the proven copied skin will be removed.