Email and fax are two different domains. When email was first introduced, everyone thought that now the fax would become obsolete. But fax is still considered the preferable way to send sensitive documents in business organizations and government offices.
It’s a fact that sending and receiving email is convenient. You don’t have to spend money on paper, ink, and machines. Thanks to modern technology, millions of users can benefit from the free email service.
Now the platform of email can be utilized for any other use case- even online faxing. You will be happy to know that you can send a fax without using a machine or toners but with just an internet connection.
You can email to fax and vice versa. You can get a detailed view of how you can still fax from the convenience of your comfort zone without setting up any landline in this article.
Can you directly send a fax via Email?
Gmail itself does not have a faxing feature baked in. you need an available online faxing service to act as a translator. You can easily send just about any file type as a fax document. The process of Gmail faxing is simple and familiar to anyone that’s sent an email, and can even be free.
Online faxing services convert the faxes which are analog signals to email format which is a digital signal and the other way round too.
Sending fax via email is not difficult at all. You just need a few minutes to do that even if you have no technical skills. You just need a subscription to any online faxing service. The best one out there is CocoFax. You can try it free of cost before purchasing a plan.
CocoFax-reliable online faxing service:
Where many other online faxing services don’t allow you to send faxes through email but require you to do so through their web portals, With CocoFax you can send faxes via both ways.
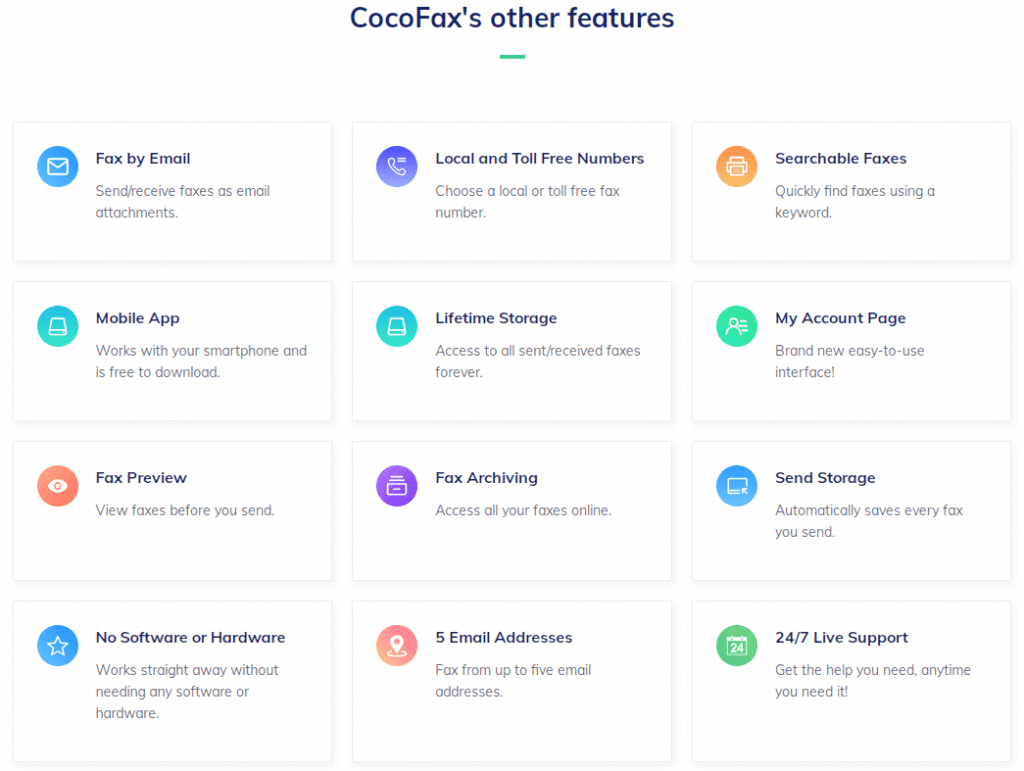
CocoFax makes it much simple to answer how to fax from email? It provides multiple features like permanent storage, encrypted faxing, 24/7 uptime and faxing documents of various formats like pdf, doc, docx, xls, xlsx, png, jpg. Now you can send faxes on the go without waiting in line or searching for a working fax machine.
What makes CocoFax the best way to email to fax and back?
CocoFax does not require any hardware to send and receive fax.
CocoFax automatically saves all the faxes you send and receive. It is cheap and is available as a free service for 30 days after one month you have to pay.
For faxing you need a fax number and CocoFax provides the free online fax number you don’t have the call on a landline to ask for the fax number.
You can use CocoFax on any smartphone or laptop and can preview the fax before sending.
If you want to know more about CocoFax check this site for more details.

How to fax via email using CocoFax:
Faxing via email through CocoFax is like a piece of cake. You have to follow the few steps and you are ready to send a fax via email.
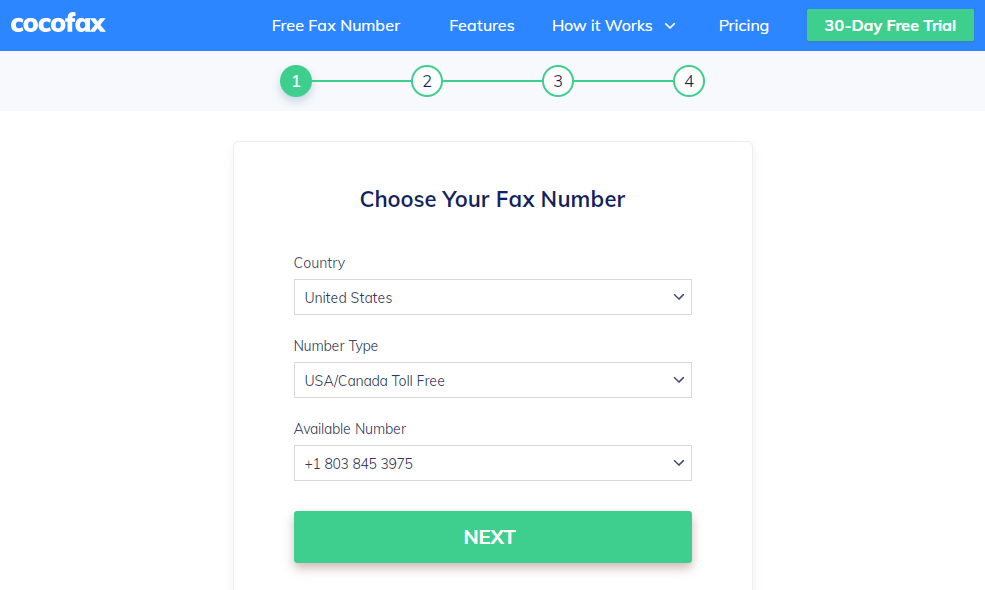
Step 1: get a CocoFax account and avail their 30 days free trial period. It takes a few minutes and you can sign up by using any device like your PC, mobile phone and laptop.
The first step of the signup procedure is to choose a fax number. You can use it freely for a limited period of time .after 30 days if you want to use it you will have to pay for it.
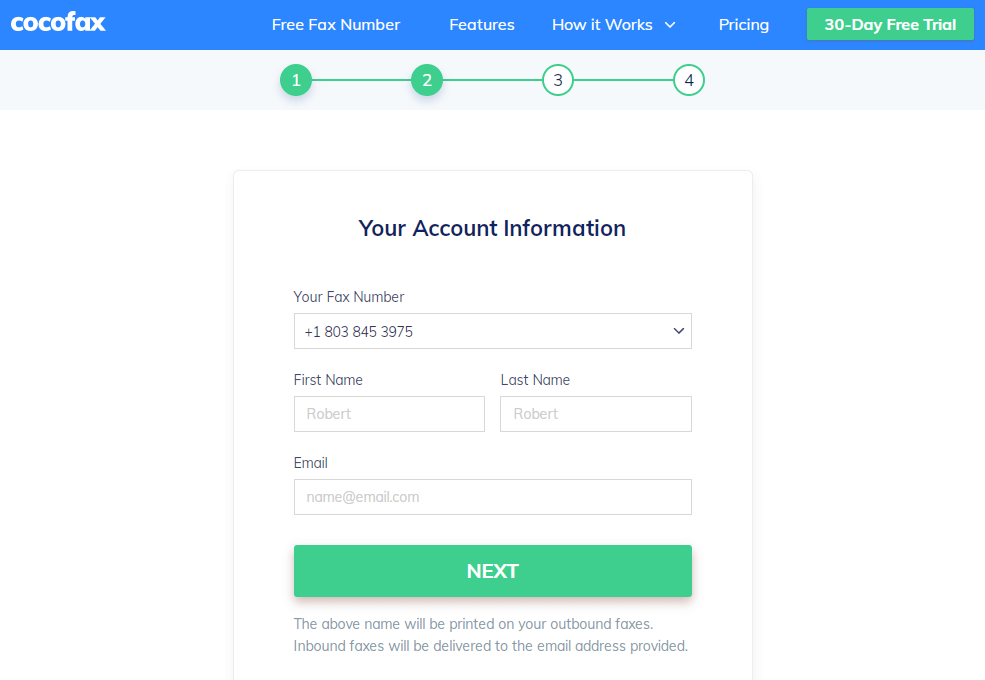
Next, you have to enter some personal information and an email id you will use to send and receive fax from during this stage.
Step 2: Log into your email and begin drafting a new email by clicking on ‘compose new email’ you can access your Gmail account from your pc or your smartphone and laptop.
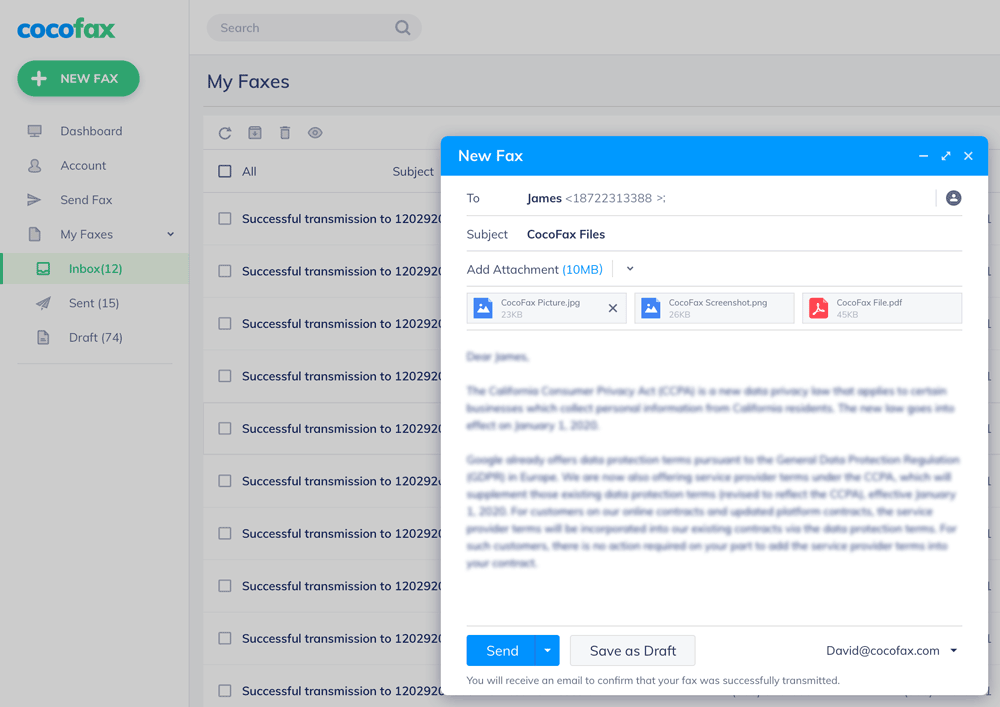
Step 3: Now you have reached the stage of composing the actual fax. You have to fill the mandatory fields for successful faxing.
To field: in this ‘to’ field you normally enter the email address of the recipient. Now you have to enter the fax number provided by the CocoFax. This fax number alone is not enough and your Gmail account will not recognize it. This is the place where CocoFax plays its role. Fax number is followed by ‘@cocofax.com’. for example, if the fax number is ‘123456’, you will need to input:
Subject: the subject of the fax is optional. If you type something in this field it will appear on the top of the page.
Cover page: this field is also optional. This page appears as the first page of the fax. Here you can type a short message for the recipient. You can type some relevant cover information here.
Attachment: this is the document you want to send. With CocoFax you can send multiple documents at the same time. After scanning the document with a scanner or after taking photos with your phone you can attach them to the fax. You just have to click on the ‘attachment’ option and you will be navigated to your documents.
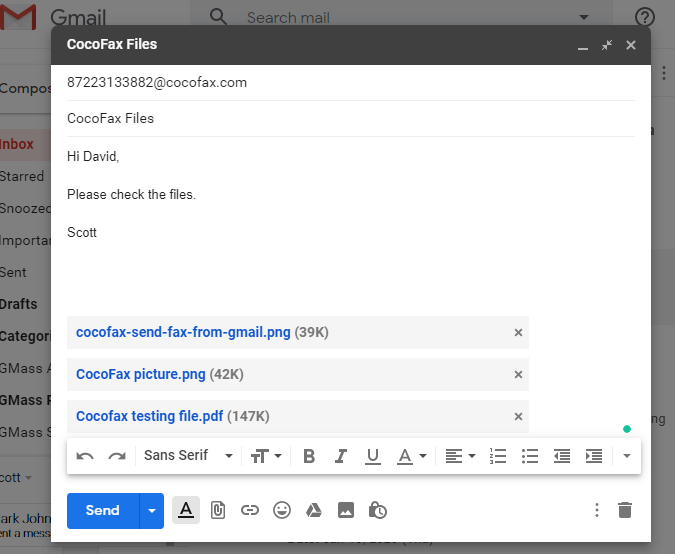
Step 4: After composing the fax you can have a good look to ensure that you have entered the correct information. Now click on the ‘send’ button.
If the fax is delivered successfully you will get a confirmation email in your inbox. You will also get a notification on CocoFax dashboard.
If your fax does not reach the recipient’s machine, check the recipient’s fax number and make sure the fax machine of the recipient is fine. Another problem can be with the line if it is a busy fax won’t be sent. In this case, try to send the fax again.
Receiving fax via email through CocoFax:
Any fax sent to you will be available to read in your inbox. You can read your mails on the online dashboard of CocoFax at any time if you have an internet connection.
You don’t have to follow different steps to read the received emails. They are available to you in pdf format and you can even print them out if you want.
Conclusion:
To sum it all up, you can now send a fax from your email id and receive a fax on your email id without connecting a landline. You can use it free of cost by using an online faxing service like CocoFax which is user-friendly, cost-effective and secure.
You can have a free fax number and can send a fax from the comfort of your home. Just get a subscription and fax instantly.